
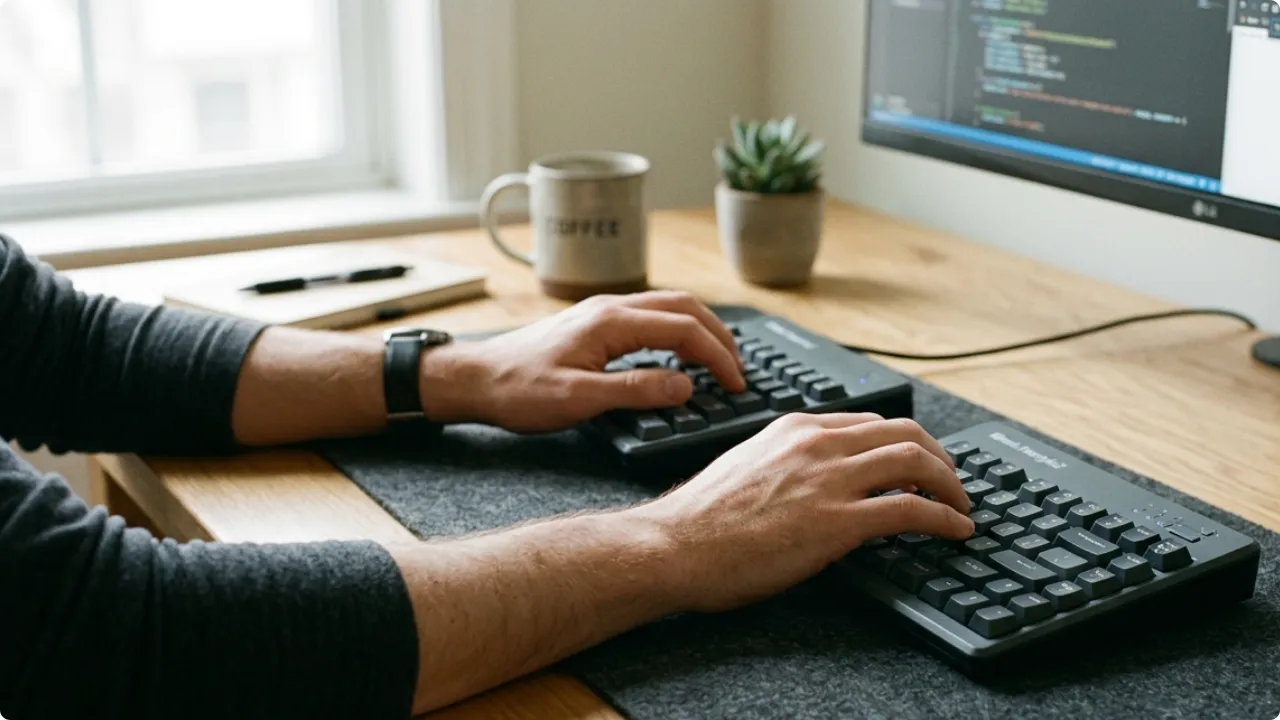
Ergonomic keyboards aren’t immediately comfortable — they’re designed to be. The design does half the job. The setup does the other half.
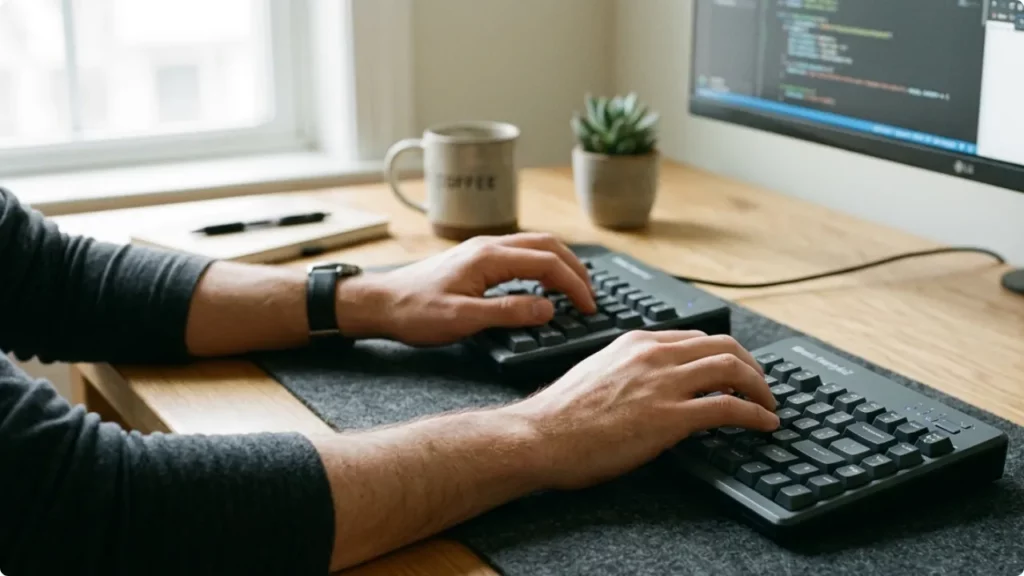
An ergonomic keyboard is designed to reduce strain — but the design only does its job if the keyboard is positioned correctly.
- Get the height wrong and your wrists still bend.
- Get the distance wrong and your shoulders still stretch for mouse use.
- Get the tilt wrong and you’ve undone most of what the design was trying to achieve.
The setup takes ten minutes, but that’s assuming you’ve already chosen the right type of ergonomic keyboard for the problems you’re trying to address. Not all ergonomic keyboards have the same positioning adjustments available. For example, using a negative tilt. You can’t do that with only kickstands to the back of the keyboard.
How to Properly Set Up an Ergonomic Keyboard
Before You Touch the Keyboard
Your chair height and forearm angle need to be right before the keyboard position means anything. If your seat is too low or too high, your arms arrive at the desk at the wrong angle — and no amount of keyboard adjustment compensates for that.
Your forearms should arrive at the desk roughly parallel to the floor, or angled very slightly downward toward it. That’s the foundation everything else builds on.
If your feet don’t rest flat on the floor at the correct seat height, an adjustable footrest solves that before it affects your posture further up. A seat cushion can correct seat height and tilt if your chair doesn’t adjust well.
And if your monitor isn’t sitting at roughly eye level, a monitor arm or stand brings the screen to where it needs to be — which in turn affects how you hold your head and neck while you type. Sort these first.
Position the Keyboard Relative to Your Body, Not Your Desk
On a dedicated desk — one with drawers, a tower space, or a fixed keyboard tray — the keyboard position is often determined by the furniture. In that case, the priority is positioning your chair to align with the keyboard rather than the other way around.
On a table or a more flexible setup, the choice is yours, and that flexibility is where the problem tends to creep in: the keyboard ends up where there’s space, not where it should be.
The problem is that the physical centre of a full-size keyboard — with its number pad — sits somewhere around the letter G, well to the left of the spacebar. If you’re right-handed and centre the board that way, your whole upper body is slightly twisted toward the left, and your right arm is reaching further than it should every time it moves to the mouse.
Centre the keyboard by aligning the spacebar with your body’s midline instead. This keeps both arms in a symmetrical position and reduces the sustained reach to the mouse on the right.
Distance, Angle, and Separation
For distance from the edge of the desk, your elbows should be able to stay close to your body when your hands are on the keys — not flaring out or pulling back. The keyboard is typically 4–6 inches from the desk edge, but this varies by arm length. The test is whether your shoulders are relaxed and your elbows are at roughly 90 degrees when you’re in a normal typing position.
On a compact desk — under 100cm — a full-size keyboard takes up a disproportionate share of the available width, leaving the mouse squeezed to the far right edge with little comfortable room to operate. A tenkeyless or compact keyboard frees up enough space that the mouse can sit in a usable position without the reach feeling forced
If you’re using a separable split keyboard, the separation distance and angle of each half are also part of positioning. Start with the halves closer together than feels necessary and move them outward gradually over a few days — going too wide too soon tends to slow the adjustment.
The angle of each half should let your forearms sit straight, not splayed outward to reach the keys.
Get the Height and Tilt Right
With your forearms parallel to the floor, your wrists should sit in a neutral position above the keyboard — not bent upward to reach the keys, and not drooping downward.
If the keyboard is too high relative to your elbow height, your wrists extend upward to type. Too low, and they angle down. Both create sustained tension throughout the course of the day.
Most ergonomic keyboards have adjustable tilt legs. The default setting on many keyboards is a positive tilt — the back of the keyboard raised, angling the keys toward you. For most typists, this actually works against you: it encourages wrist extension rather than reducing it.
A flat position — tilt legs folded away — is a better starting point for most people. If your keyboard allows it, a slight negative tilt (back of the keyboard lower than the front) is even better, as it encourages a more neutral wrist position. Not all keyboards support negative tilt, but those that do are worth the adjustment.
If you use a standing desk, check the tilt and height again when you switch between sitting and standing. Your forearm angle changes when you’re standing, and a position that’s well set up for sitting often needs re-dialling when you’re on your feet.
If your keyboard has tenting — a raised centre ridge that rotates the wrists toward a more neutral, handshake-like angle — start at the lowest tent setting available and increase it incrementally. Higher angles take longer to adjust to, and going too steep too fast tends to introduce new discomfort rather than reducing existing strain.
Wrist Rests: When to Use Them and When to Leave Them Alone
A wrist rest is for resting, not for typing. That distinction is more important than it sounds.
If you’ve spent years typing on a laptop, this takes some adjustment. Laptops have a built-in palm rest at key level, and resting your palms while typing becomes second nature — there’s nowhere else to put your hands.
On an external keyboard, that habit follows you. The difference is that a laptop’s low-profile keys and shallow travel are designed around that position; an external keyboard generally isn’t, and sustained wrist contact while typing creates pressure that builds across a long session.
When you’re actively typing, your wrists should be floating just above the keyboard surface — not pressing down onto a rest. Resting your wrists on a pad while your fingers are moving creates sustained pressure on the tendons and soft tissue in the wrist, which is the opposite of what the rest is there for.
The rest is useful when you pause between bursts of typing, giving your hands somewhere to settle without hanging in mid-air.
Where it gets more complicated is with integrated wrist rests — the kind built into the keyboard itself and not removable. These are common on ergonomic keyboards, and they work well when the rest sits at the right height relative to your hand size and typing angle.
When they don’t, the problem is that you can’t adjust them or swap them out. If the integrated rest forces your wrists into an awkward position, that’s not something you can fix with a separate accessory.
It’s also worth knowing that the wrist or palm rest is often the first part of an ergonomic keyboard to show visible wear — particularly the leatherette or foam covering on fixed rests. On keyboards where the rest isn’t replaceable, that wear affects the keyboard even when everything else is still working fine. This is one of the factors worth checking before you buy, not after.
Mouse Placement After the Keyboard Is Set
Where your mouse ends up is largely a consequence of the keyboard you’re using and how it’s positioned. A full-size keyboard with a number pad pushes the mouse well to the right of your body’s midline — which means your right arm extends outward every time you reach for it, putting sustained load on the shoulder.
A tenkeyless or compact keyboard (typically 80% of full-size or smaller) brings the mouse back toward the centre, and that change alone can reduce right shoulder fatigue meaningfully across a full working day.
Once the keyboard is positioned correctly, put the mouse immediately beside it — no gap — so the reach is as short as possible.
If your keyboard sits on a tray, the mouse will typically sit on the desk surface to the right — slightly higher. That height difference is worth being aware of, as the repeated transition between levels can contribute to shoulder and elbow fatigue over the course of your working day.
How much the mouse position impacts you also depends on how often you’re actually using it. The University of Essex guidance on computer work makes a practical point worth noting: reducing mouse use by leaning on keyboard shortcuts instead takes some of the repetitive reach out of the equation entirely. For keyboard-heavy work, that’s often more effective than optimising the mouse position alone.
The Transition Period to Switch to an Ergonomic Keyboard
Most ergonomic keyboards involve some adjustment period, even when the setup is correct. Muscles and habits that have built up over years of typing on a standard keyboard don’t immediately adapt to a different layout or hand position.
Some temporary discomfort — particularly in the fingers, forearms, or outer hand — is normal in the first one to two weeks, especially with split keyboards.
The keyboard feel is also more personal than most people realise until they change it. If you’ve typed on the same type of keyboard for years — the same key travel, the same spacing, the same switch feel — your muscle memory is built around it.
Switching to an ergonomic keyboard disrupts all of that at once, and a drop in typing speed in the first week or two is almost inevitable. That’s not a sign the keyboard isn’t working. It’s a sign your hands haven’t caught up yet.
Typing speed is worth factoring in before you make the switch, not after. If you type a lot for work and can’t afford a sustained productivity dip, timing the switch to a quieter period makes sense.
If you’re moving to a separable split, consider splitting time between your old keyboard and the new one for the first week or two rather than switching cold — it extends the adjustment period slightly but reduces the pressure of relearning a layout mid-deadline.
The distinction worth watching is whether any discomfort is fading or intensifying.
Soreness that’s gradually easing as you build familiarity with the new layout is normal conditioning. Soreness that’s getting worse, spreading to new areas, or appearing in your wrists or joints rather than your muscles is a signal to stop and reassess — either the setup needs adjusting, or the keyboard type isn’t the right fit for your anatomy.
How Long Before It Feels Right
A setup that’s working should start to feel noticeably more comfortable within two to three weeks. For touch typists, speed often returns to where it was before — and sometimes slightly beyond it, once the more natural hand position stops working against them.
Hunters and peckers typically take longer, because a layout change and learning proper finger placement can end up happening simultaneously.
If things don’t feel noticeably better after three weeks — or feel actively worse — the keyboard position is the first thing to revisit before drawing conclusions about whether ergonomic keyboards are for you.